

Cost Effective Custom Apparel for Small Events
Table of Contents
- Why Small Events Need a Smarter Apparel Budget
- How to Order Custom T-Shirts for a Group Without Overspending
- Custom Event Shirt Design Ideas That Keep Costs Down
- Event Apparel Size Planning: Getting the Numbers Right
- Your Custom Apparel Ordering Checklist for Small Events
- Screen Printing, Embroidery, or DTF: Which Fits Your Budget?
- Hidden Fees and Minimums That Blow Up Small-Event Budgets
- Timeline: When to Order Custom Apparel for Your Event
- Conclusion
- Frequently Asked Questions
Last Updated: October 12, 2026
Why Small Events Need a Smarter Apparel Budget
Cost effective custom apparel for small events comes down to one principle: match the garment and print method to the actual size of your group, not to a vendor's minimum. A 30-person team reunion and a 200-person fundraiser need different approaches, and treating them the same is how budgets quietly double.
The math is unforgiving for small groups. Most traditional screen printing shops price by the screen, and each color in a design adds a setup charge before a single shirt is printed. Spread that across 20 shirts and the per-item cost climbs fast. Spread it across 200 and it barely registers. That single dynamic explains why small events get quoted prices that feel disconnected from what large organizations pay.
This guide breaks down the full ordering process: how to lock a headcount, choose a garment and decoration method, collect sizes without chasing people for weeks, and avoid the fees that catch small groups off guard. Below is a step-by-step walkthrough plus a timeline tied to your event date.
How to Order Custom T-Shirts for a Group Without Overspending
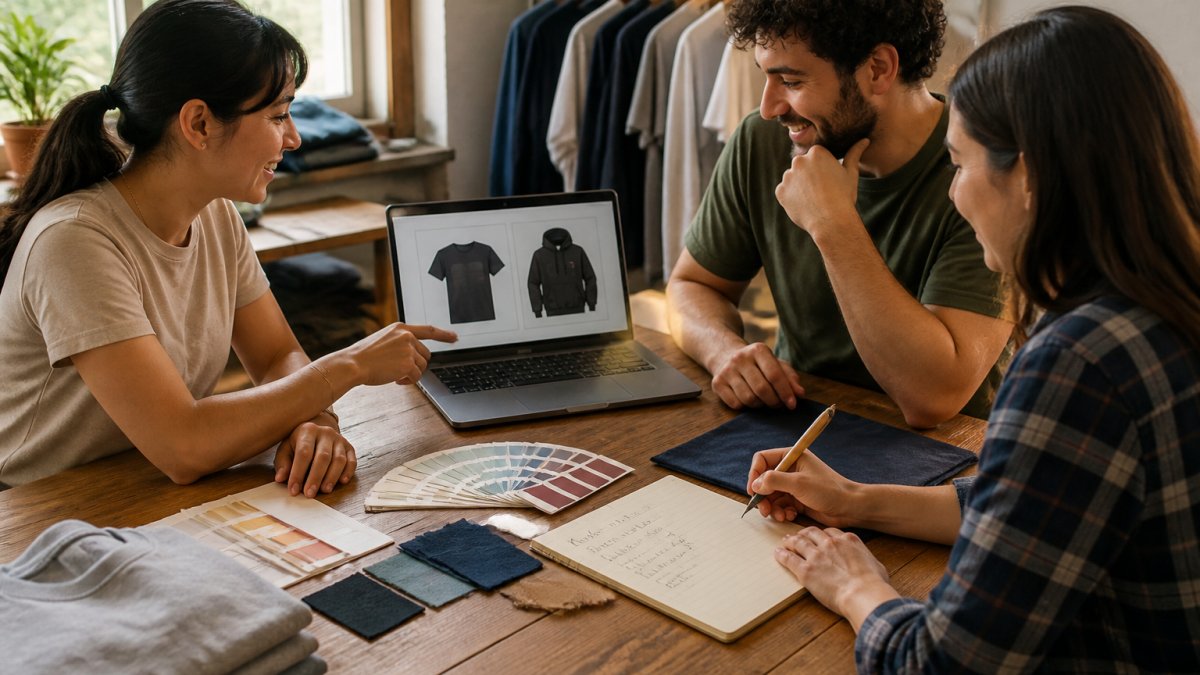
Ordering custom T-shirts for a group without overspending means deciding three things in order: headcount, garment and print method, then size collection. Skipping straight to design is the most common mistake small organizers make.
Step 1: Lock In Your Headcount and Budget
Start with a firm number, not a guess. Order for confirmed attendees plus a small buffer for late additions and sizing swaps, usually 5 to 10 percent above your confirmed count. Under-ordering means a reorder with its own fees and turnaround. Over-ordering means leftover shirts nobody wears.
Set your total budget before requesting quotes, then divide by headcount to get your real per-item ceiling. That ceiling is what you compare against every quote, not the headline price.
Step 2: Pick Your Garment and Print Method
Garment choice moves the budget more than most organizers expect. A basic cotton T-shirt and a heavyweight hoodie sit in different price bands, and the gap widens across a full order.
- T-shirts: lowest per-item cost, best for warm-weather events and large groups
- Hoodies and sweatshirts: higher cost, but higher perceived value and better for cool-weather or premium giveaways
- Hats: useful as an add-on for staff or volunteers rather than the main item
Match the decoration method to the design. Simple one or two-color logos suit screen printing. Small chest logos and names suit embroidery. Detailed, multi-color artwork with gradients suits direct-to-film printing, which handles complex designs without per-color charges.
Step 3: Collect Sizes and Place the Order
Send a simple form asking for size only, with a deadline attached. Chasing sizes is the slowest part of any group order, so give people three days and follow up once. Once sizes are in, confirm the final count and submit.
Custom Event Shirt Design Ideas That Keep Costs Down
Design choices directly control your print cost. The most budget-friendly custom event shirt design ideas use fewer colors, smaller print areas, and one location instead of several.
A full-back print in six colors costs more than a one-color chest logo, and the gap is largest on small runs. If the goal is cost efficiency, design for the method rather than choosing a method for the design.
Practical directions that hold costs down:
- Single-color line art on the front chest, which prints cleanly and skips per-color charges
- Text-forward designs using the event name, year, or a short phrase
- Small left-chest logos paired with a plain back
- One-color back prints for a bolder look without extra screens
Contrast matters more than color count. A strong single-color design on a contrasting garment often reads better than a busy multi-color print, and it costs less to produce.
Event Apparel Size Planning: Getting the Numbers Right
Event apparel size planning fails when organizers order a flat spread of sizes instead of a realistic curve. Groups rarely need equal numbers of small and double-extra-large, and guessing wrong leaves you with the sizes nobody wants. The fix is to build a size curve from real data, then protect it with a small buffer and a swap plan.
Start With a Real Size Curve, Not a Flat Spread
A flat spread assumes every size is equally likely. In practice, adult groups cluster in the middle. A common pattern for a mixed adult group of 40 looks roughly like this:
| Size | Share of Order | Count on a 40-Person Order |
|---|---|---|
| Small | ~10% | 4 |
| Medium | ~25% | 10 |
| Large | ~30% | 12 |
| XL | ~20% | 8 |
| 2XL | ~10% | 4 |
| 3XL | ~5% | 2 |
Treat those shares as a starting point, not a rule. Shift the curve up for an older crowd, a uniformed workforce, or a group that skews toward looser fits. Shift it down for a youth-heavy or athletic audience. The point is to have a defensible starting distribution before you collect a single response.
Collect Sizes Individually, Then Reconcile
Estimating sizes from memory is the fastest way to over-order mediums and under-order larges. Send one form that asks for size only, with a hard deadline. When responses come back, tally them against your curve. If the real numbers diverge sharply from the curve, trust the real numbers, the curve is a fallback for the people who never respond.
For events with kids or teens, run a separate size question rather than folding them into the adult count. Mixing the two distorts the curve and produces leftover stock in sizes nobody asked for.
Handle Late Registrations Without a Second Order
Late registrations are the main reason small events end up with a rushed reorder and its own setup and shipping charges. Two tactics reduce that risk:
- Hold a buffer in the top three sizes. Add 5 to 10 percent above confirmed count, weighted toward the sizes your curve says are most requested.
- Offer a swap window at check-in. Keep one or two of each extreme size on hand so someone who guessed wrong can trade before the event starts.
Reduce Leftover and Unusable Inventory
Leftover shirts are a cost even when they are already paid for, because they tie up budget that could have covered the sizes people actually wanted. A few habits keep leftovers low:
- Collect sizes individually rather than estimating
- Add a small buffer only in the two or three most-requested sizes
- Keep one or two of each extreme size for swaps
- Ask about fit preference, since some people size up for a looser feel
- Order the buffer in the sizes most likely to be requested late, not evenly across the curve
Your Custom Apparel Ordering Checklist for Small Events
An apparel ordering checklist keeps a small order from stalling. Most delays come from missing information, not from the printer.
- Confirm final headcount with a buffer of 5 to 10 percent
- Set a total budget and calculate your per-item ceiling
- Choose garment type: T-shirt, hoodie, sweatshirt, or hat
- Select a print method that fits the design and quantity
- Finalize artwork in a print-ready file format
- Collect sizes with a firm deadline
- [ ]
- [ ]
Work through the list in order. Each step feeds the next, and skipping one usually means a rushed decision later that costs more.
Screen Printing, Embroidery, or DTF: Which Fits Your Budget?
The right decoration method depends on quantity, design complexity, and how the shirt will be used. Each method has a different cost structure, and for small events, the setup charges matter most.
Screen printing presses ink through a mesh screen, one screen per color. It delivers durable, long-lasting prints and low per-item costs at higher quantities, but setup charges per color make it expensive on very small runs.
Embroidery stitches thread directly into the fabric. It suits logos, names, and small chest designs, and it holds up well over years of washing. Complex, multi-color artwork does not translate well, and large designs get costly.
Direct-to-film printing, often shortened to DTF, prints a design onto a film and transfers it to the garment. It handles detailed, multi-color artwork without per-color setup, which makes it a strong fit for small groups with complex designs.
| Method | Setup Cost | Best Quantity | Best For | Durability |
|---|---|---|---|---|
| Screen printing | Per color | Larger runs | Simple logos, bold designs | Very high |
| Embroidery | Per design file | Any size | Small logos, names, polos | Very high |
| Direct-to-film | Minimal | Small runs | Detailed, multi-color art | High |
Hidden Fees and Minimums That Blow Up Small-Event Budgets
Hidden fees are what turn a reasonable quote into an overrun. The per-item price a vendor advertises rarely reflects the final invoice, and small orders absorb those extras across fewer units. The way to stay in control is to build an all-in cost model before you compare quotes, so every fee lands in the same column.
The Line Items That Appear After the Quote
Watch for these charges, and ask for each one in writing before you commit:
- Setup or screen fees, charged per color or per design file
- Minimum order quantities, which force you to buy more shirts than you need
- Rush fees, added when your timeline is tight
- Artwork charges, billed if your file needs cleanup or redrawing
- Shipping and handling, sometimes quoted separately from the product
- Size upcharges, applied to extended sizes on some garments
- Sales tax, which applies to the final invoice, not the headline price
Build an All-In Cost Model Before You Compare Quotes
A quoted per-item price is only useful once you add the fees that sit outside it. Use a simple worksheet:
- Garment cost, per-item price times quantity
- Setup or screen fees, per color or per file, added once
- Artwork fees, only if your file needs redrawing
- Shipping, quoted separately from the product on many orders
- Rush fees, only if your timeline is compressed
- Size upcharges, applied to extended sizes on some garments
- Sales tax, applied to the final invoice
Why Small Runs Absorb Fees Differently
Setup fees are fixed. On a 200-shirt order, a setup charge spread across 200 units barely moves the per-item cost. On a 20-shirt order, the same charge lands on 20 units and can double the effective price. That is the single dynamic that makes small events feel overcharged.
Timeline: When to Order Custom Apparel for Your Event
Order apparel three to four weeks before your event date for a comfortable margin. That window covers artwork approval, production, and shipping without paying rush fees.
A tighter timeline is possible, but each compressed week adds risk and often cost. Here is how the weeks typically break down:
| Weeks Before Event | Task |
|---|---|
| 4 weeks | Confirm headcount, budget, garment, and print method |
| 3 weeks | Finalize artwork and approve a proof |
| 2 weeks | Collect all sizes and place the order |
| 1 week | Receive the order and sort by size |
| Event week | Distribute shirts and handle any swaps |
If your event is under two weeks away, expect to pay a rush fee or accept a simpler design that skips a proofing round. Ordering early is the single cheapest way to protect a small-event apparel budget.
Conclusion
Cost effective apparel for small events is less about finding the lowest sticker price and more about avoiding the fee structures built for large orders. Lock your headcount, pick a print method that fits your design and quantity, collect sizes early, and order three to four weeks out. Do those four things and the total cost stays predictable from the first quote to the final invoice.
Frequently Asked Questions
What is the most cost-effective custom apparel for a small event?
The most cost-effective option depends on your event size and print method. For small groups, direct-to-film printing often has no minimum order quantity and low setup costs, making it ideal for 10-50 shirts. Screen printing becomes cheaper per item at higher quantities but requires setup fees. Choosing a simple one-color design on a basic T-shirt keeps costs down while still looking professional.
Can you order custom T-shirts or hoodies in small quantities?
Yes. Many providers now offer no-minimum or low-minimum options for custom apparel. Direct-to-film printing and heat transfer methods allow you to order as few as one item. This is especially useful for small events where you need 10-30 pieces. Always confirm the minimum order quantity before designing, and ask whether setup fees apply to small runs.
How far in advance should I order custom apparel for an event?
For small events, order at least 3-4 weeks before your event date. This allows time for design approval, size collection, production, and shipping. If you need rush turnaround, expect rush fees and confirm the vendor can meet your deadline. Made-to-order items may take longer, so check turnaround time upfront and build in a buffer for shipping delays.
How can I estimate the number of shirts needed for a small event?
Start with your confirmed attendee count and add 10-15% for extras or size swaps. If you are unsure about sizes, order a size curve based on typical distribution: more medium and large, fewer small and extra-large. For events where attendees register in advance, collect sizes during registration to avoid over-ordering. Leftover shirts can be sold or donated, but over-ordering ties up your budget.