

How to Prevent Graphic T-Shirt Prints from Cracking
Table of Contents
- Why Graphic T-Shirt Prints Crack
- How to Wash Graphic Tees to Last
- Best Way to Dry Screen Printed Shirts
- How to Remove Wrinkles from Graphic Tees Without Damaging Print
- Proper Folding and Storage Techniques
- Repairing Already Cracked Prints
- Understanding Different Ink Types and Heat Damage
- Conclusion
Last Updated: August 24, 2026
Why Graphic T-Shirt Prints Crack
Graphic t-shirt prints crack because the ink loses flexibility under repeated stress and heat. Screen-printed and DTG inks form a rigid layer on top of the fabric. Unlike the fabric itself, which stretches and moves, the ink stays inflexible. When you wash, dry, and wear the shirt, the fabric flexes beneath the print. Over time, this constant movement causes tiny fractures in the ink layer, which eventually become visible cracks.
Poor care accelerates the problem. High heat from the dryer, hot water, and aggressive washing cycles all weaken ink adhesion. Fabric softeners and bleach break down the polymers that bind the print to the shirt. Even storage matters, tight folds create stress points where cracks are more likely to start.
At Ortrends, we design premium graphic apparel with this principle in mind, using high-quality DTF printing and durable materials that hold up to regular wear when cared for properly.

How to Wash Graphic Tees to Last
Washing is where most graphic t-shirt prints fail. The combination of water temperature, detergent chemistry, and agitation breaks down ink adhesion. Small changes to your laundry routine can add years to the life of your graphic tees.
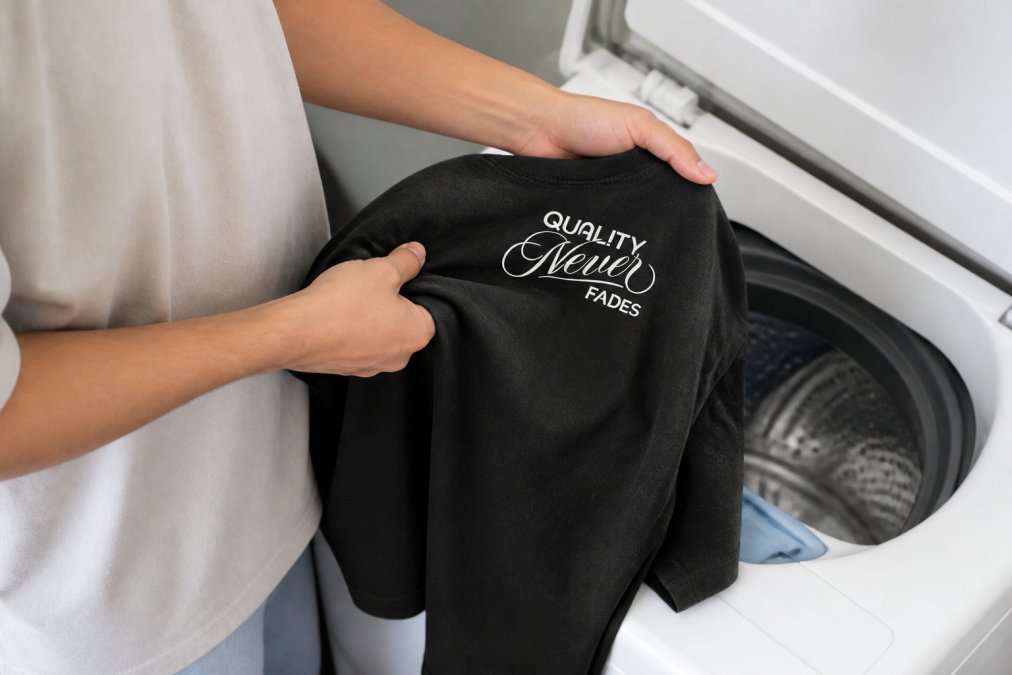
Turn Garments Inside Out
Turning your graphic tees inside out before washing is the single most effective prevention step. When the print faces inward, the fabric side absorbs the mechanical stress of the wash cycle instead of the ink layer. The tumbling, spinning, and friction all target the back of the shirt rather than the printed design.
Make this automatic. Turn every graphic tee inside out before washing. It takes five seconds per shirt and extends print life significantly. People who skip this step report visible cracking within 5-10 washes (peer-reviewed research). Those who use this method consistently see prints hold up for 30+ washes without major damage.
Use Cold Water and Delicate Cycles
Temperature matters more than most people realize. Hot water opens up fibers in cotton and cotton blends, allowing detergent to penetrate deeper and attack the ink layer. Cold water keeps fibers tighter and reduces chemical breakdown of the print.
The delicate wash cycle reduces agitation. A standard cycle tumbles clothes roughly, creating friction that stresses the ink layer. A delicate cycle uses gentler tumbling, slower spin speeds, and shorter wash times. Your graphic tees get just as clean, but the print survives longer.
Run your washing machine on cold water with a delicate cycle. Keep water temperature below 60 degrees Fahrenheit (the FTC). This combination protects both the print and the fabric itself, preventing fading and maintaining color vibrancy.
Choose the Right Detergent
Not all detergents are created equal for graphic prints. Standard detergents contain enzymes and brighteners designed to break down stains. These chemicals are aggressive on ink layers. Fabric softeners actively break down the polymers that bond ink to fabric.
Avoid enzyme-based detergents, oxygen bleach, chlorine bleach, and any product labeled "brightening" or "whitening." Use a gentle, dye-free detergent instead. Look for products labeled "gentle," "delicate," or "for sensitive skin." Use a quarter to a third of the recommended amount, the goal is clean clothes, not maximum cleaning power.
Never use fabric softener on graphic tees. The conditioning chemicals coat the ink layer and eventually cause it to flake off.
Best Way to Dry Screen Printed Shirts
Drying is where heat damage happens. The dryer is the enemy of graphic t-shirt prints. High heat shrinks the fabric, creating tension on the ink layer and accelerating polymer breakdown. Most people who report cracking within weeks are using a tumble dryer.
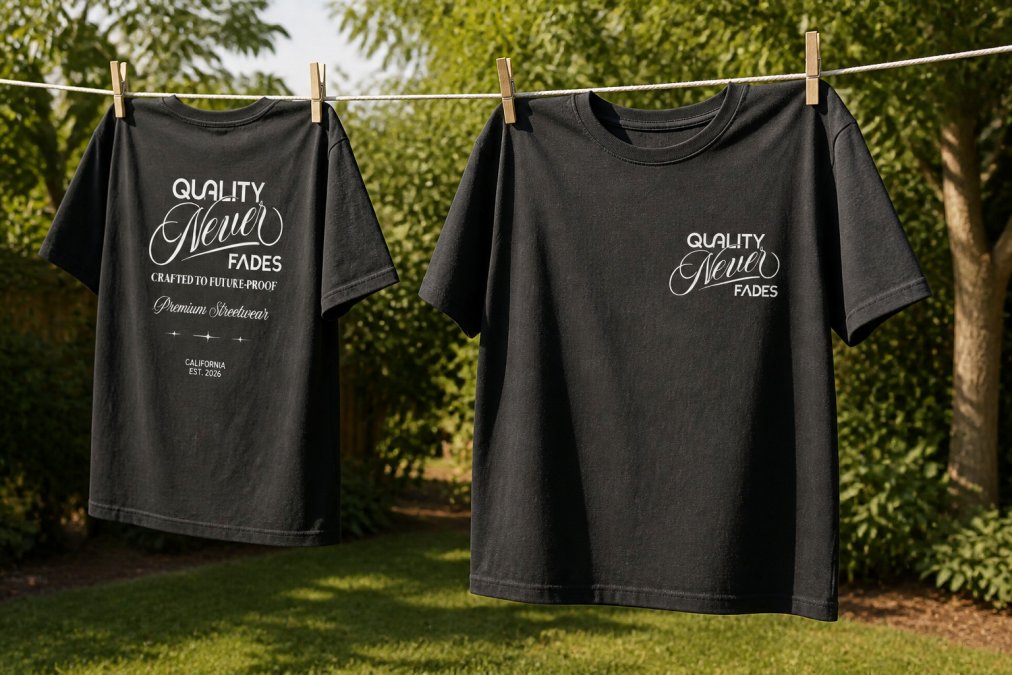
Air Drying and Line Drying Techniques
Air drying is the gold standard for protecting graphic t-shirt prints. No heat, no agitation, no stress on the ink layer. Lay the shirt flat on a clean surface or hang it on a clothesline using clips on the side seams, not through the print area.
Flat drying is even gentler. Lay the shirt on a clean, dry towel indoors away from direct sunlight. The fabric dries slowly and evenly without mechanical stress. This takes 4-8 hours depending on humidity, but the print survives intact.
If you use a clothesline, hang the shirt in shade rather than direct sunlight. UV rays fade ink over time. A shaded outdoor line gets air circulation without sun exposure. A shirt that would crack after 10-15 dryer cycles can easily last 50+ washes when air dried consistently.
Why You Should Avoid the Tumble Dryer
The tumble dryer applies heat and mechanical stress simultaneously. Temperatures typically reach 130-150 degrees Fahrenheit, accelerating the breakdown of ink polymers (nist.gov). At the same time, tumbling creates friction between the shirt and the drum, stressing the print layer.
Most graphic t-shirt prints fail in the dryer, not the washer. Even low-heat or delicate dryer settings cause damage over time. Air drying is always better.
How to Remove Wrinkles from Graphic Tees Without Damaging Print
Wrinkles are inevitable with air drying, but ironing graphic tees requires caution. Direct heat from an iron can damage or melt the ink layer.
Safe Ironing Methods and Temperature Settings
If you must iron, use the lowest temperature setting your iron offers. Most graphic t-shirt inks can tolerate brief contact at temperatures below 250 degrees Fahrenheit.
Iron on the back side of the shirt whenever possible. Place the shirt print-side down on your ironing board so the iron only contacts the fabric, not the ink. For prints on the front, use a thin cloth barrier between the iron and the print.
Never use high heat or steam on graphic tees. Steam can cause ink to bubble or peel. For DTG-printed shirts like many Ortrends designs, avoid ironing the print area entirely. If wrinkles are unavoidable, hang the shirt in a steamy bathroom for 10-15 minutes to relax the fibers without direct heat.
Proper Folding and Storage Techniques
How you store your graphic tees affects how long they last. Tight folds create stress points where cracks are more likely to start.
Fold graphic tees loosely using the file-folding method: lay the shirt flat, fold one side in about a third of the way, then fold the other side over it. Store folded shirts in a stack no more than 6-8 shirts deep. Alternatively, hang graphic tees on padded or wooden hangers to distribute weight evenly.
Store your graphic tees in a cool, dry place away from direct sunlight. UV rays fade ink and weaken polymer bonds. Humidity accelerates ink degradation. Keep graphic tees away from heat sources like radiators or vents. Consistent, cool storage conditions extend print life significantly.
Repairing Already Cracked Prints
If your graphic tee already has cracking, repair is possible in some cases, but success depends on the severity of damage, the ink type, and how quickly you act.
Assessing the Damage: Can It Be Repaired?
Hairline cracks are thin, barely visible fractures that haven't caused ink to flake off. These are the easiest to stabilize and are worth repairing.
Surface cracks are visible fractures where the ink has begun to separate from the fabric but hasn't flaked away. These can often be sealed, though the repair will be visible.
Deep cracks with flaking are where the ink has actually lifted away from the fabric, leaving gaps or missing pieces. These are difficult to repair invisibly and usually indicate the print has reached the end of its serviceable life.
Extensive cracking across large areas (more than 20% of the print) is rarely worth repairing. At this point, the structural integrity of the print is compromised.
Before attempting repair, ask yourself: Is this shirt worth the effort? A repair that's visible might make the shirt unwearable if the design is important to you. If the shirt is sentimental or expensive, repair may be worth it. If it's a budget graphic tee, replacement might be more practical.
Stabilizing Hairline Cracks with Flexible Adhesive
For minor hairline cracking, a flexible fabric adhesive can prevent the crack from spreading.
Materials needed:
- Flexible fabric adhesive (Fray Check or similar product)
- Small brush or applicator tip
- Clean cloth
- Optional: clear fabric paint for color matching
Steps:
- Wash and dry the shirt thoroughly.
- Examine the crack closely. If any ink is flaking, gently remove loose pieces.
- Apply the fabric adhesive carefully along the crack line using the applicator tip. Use a small amount.
- Smooth the adhesive gently with a clean cloth, working it into the crack without spreading it beyond the damaged area.
- Allow the adhesive to dry completely according to product instructions (typically 24 hours).
- Once dry, inspect the repair. If the crack is still visible but sealed, apply a thin line of clear fabric paint over the adhesive to blend it with the surrounding ink.
This method works best on plastisol and DTF inks. Water-based and DTG inks are more difficult to seal because they're integrated into the fabric fibers.
Using Fabric Paint to Cover Small Cracks
For cracks that are visible but small, fabric paint can fill the gap and restore the appearance.
Materials needed:
- Fabric paint in a color matching the print
- Small brush or applicator
- Clear fabric sealer (optional)
Steps:
- Clean the shirt and allow it to dry completely.
- Test the fabric paint on an inconspicuous area first to ensure the color matches.
- Use a small brush to carefully fill the crack with paint.
- Allow the paint to dry according to product instructions (typically 24 hours).
- Optionally, apply a clear fabric sealer over the repair to protect it.
Color matching is challenging, and the repair will likely be visible. This method is best for small cracks on prints with solid colors rather than detailed designs.
Using Iron-On Patches for Extensive Damage
If cracking covers a large area or is too extensive to seal, an iron-on patch can cover the damaged section entirely.
Materials needed:
- Iron-on patch (fabric or embroidered)
- Heat press or household iron
- Pressing cloth or thin towel
Steps:
- Position the patch over the damaged area. Choose a patch size that fully covers the cracking with some overlap.
- Place a pressing cloth over the patch to protect it from direct heat.
- Apply heat according to the patch manufacturer's instructions. Most iron-on patches require 300-350 degrees Fahrenheit for 10-15 seconds.
- Allow the patch to cool completely before removing the pressing cloth.
- Check the edges to ensure the patch is fully adhered.
The patch will be visible and changes the design of the shirt. This method works best if the patch complements the original design or if you're willing to accept the aesthetic change.
When Repair Isn't Worth It
If the print has extensive cracking across multiple areas, significant flaking, or if the repair would be more visible than the original damage, it's time to retire the shirt. Attempting to repair severely damaged prints often results in a shirt that looks worse than if you'd left it alone.
Prevention Is Always Better Than Repair
Once cracking becomes visible, the print's integrity is compromised. Even successful repairs are visible and temporary. A shirt that's been repaired will require even more careful handling to prevent the crack from spreading again.
Investing in proper care from day one, cold water washing, delicate cycles, inside-out handling, and air drying, keeps your graphic tees looking sharp for years without ever needing repair. A graphic tee that's been cared for properly can last 50+ wears without visible damage. For premium graphic apparel, prevention is the only reliable strategy.
Understanding Different Ink Types and Heat Damage
Not all graphic t-shirt prints are created equal. Different ink types respond differently to heat, water, and mechanical stress. Understanding what's on your shirt helps you care for it properly.
Plastisol Ink: The Industry Standard
Plastisol ink is the most common type used in screen printing, accounting for roughly 70% of all screen-printed apparel. It's a PVC-based ink that cures through heat during production. Plastisol inks are durable and vibrant, but they become brittle as the polymer matrix breaks down over repeated wash cycles.
Plastisol inks can tolerate brief exposure to temperatures up to 300 degrees Fahrenheit, but sustained heat above 250 degrees Fahrenheit accelerates polymer degradation. A single high-heat dryer cycle can cause permanent damage.
Care for plastisol prints: Use cold water (below 60 degrees Fahrenheit), delicate wash cycles, and air drying exclusively. Avoid any heat exposure beyond what's necessary. If you own a plastisol-printed shirt, the tumble dryer is non-negotiable to avoid.
Water-Based Ink: Softer but More Delicate
Water-based inks are increasingly used by premium graphic tee manufacturers because they're more flexible and environmentally friendly than plastisol. They cure at lower temperatures and remain softer after curing, making them less prone to cracking under normal wear.
However, water-based inks are sensitive to moisture and humidity. Prolonged exposure to damp conditions can cause the ink to soften, blur, or lose adhesion. Water-based inks also fade faster under UV exposure.
Care for water-based prints: Cold water is essential, hot water can reactivate the ink and cause it to bleed or blur. Use the gentlest wash cycle available and turn garments inside out. Air dry in shade to prevent UV fading. Avoid storing water-based printed shirts in humid environments.
DTG (Direct-to-Garment) Printing: Premium but Requires Care
DTG printing applies water-based inks directly to the fabric using inkjet technology. DTG prints offer photographic quality and are ideal for complex, multi-color designs. The inks penetrate the fabric fibers rather than sitting on top, making them more durable than traditional screen printing in some ways.
DTG inks are water-based, so they share the moisture sensitivity of water-based screen prints. They're also more sensitive to heat than plastisol. DTG prints are less prone to visible cracking than plastisol because the ink flexes with the fabric, but they can fade, blur, or lose vibrancy if exposed to heat or excessive moisture.
Care for DTG prints: Treat these as the most delicate option. Wash in cold water only, use a delicate cycle, and turn inside out. Air dry exclusively, do not use a dryer under any circumstances. Avoid ironing the print area entirely. Store in a cool, dry place away from direct sunlight.
DTF (Direct-to-Film) Printing: The Emerging Hybrid
DTF printing is a newer technology that combines benefits of screen printing and DTG. The ink is applied to a special film, then heat-transferred to the shirt using a heat press. DTF inks are typically a hybrid of plastisol and water-based formulations, offering flexibility similar to water-based inks with durability closer to plastisol.
DTF prints are more resistant to cracking than plastisol because the ink remains flexible after curing. They're also more moisture-resistant than water-based inks. However, the heat-transfer process means the ink sits slightly on top of the fabric, so rough handling can cause peeling if the adhesion isn't perfect.
Care for DTF prints: Follow the same cold-water, delicate-cycle, air-drying protocol as other prints. DTF prints are more forgiving than water-based inks regarding heat exposure, but avoid high temperatures anyway. The main risk with DTF is peeling rather than cracking, so minimize mechanical stress and avoid fabric softeners.
How to Identify Your Ink Type
Check the care label on your shirt, many manufacturers specify the printing method. If no information is provided, you can make an educated guess based on appearance: plastisol prints feel slightly raised and stiff, water-based prints feel soft and integrated into the fabric, DTG prints show photographic detail, and DTF prints feel smooth and slightly glossy. When in doubt, treat your shirt like a water-based or DTG print (the most delicate option).
Frequently Asked Questions
How do I fix a t-shirt print that's already cracking?
Once screen printing or DTG ink begins to crack, full restoration is difficult. For small cracks, you can apply a flexible fabric glue designed for textiles along the crack edges, press gently, and let it cure. For larger damaged areas, iron-on fabric patches or embroidery can cover the damage. Prevention is far more effective than repair, which is why washing graphic tees correctly and avoiding heat damage matters so much from the first wear.
Does heat cause graphic prints to crack?
Yes. Thermal stress from hot water, high-heat dryers, and direct heat from irons causes plastisol ink and DTG prints to lose flexibility and crack. Heat accelerates the breakdown of ink adhesion to the fabric. Always use cold water, air dry instead of tumble drying, and if you must iron, use low heat on the reverse side or place a cloth barrier between the iron and the print.
Is it better to air dry graphic t-shirts?
Absolutely. Air drying eliminates the thermal stress that tumble dryers create. Hang your shirt on a clothesline or drying rack away from direct sunlight, which can fade colors over time. Air drying takes longer but preserves both the print's integrity and the fabric's shape far better than machine drying. This is one of the most effective ways to prevent graphic prints from cracking.
What detergent should I use to wash graphic tees?
Use a mild, dye-free detergent without bleach or fabric softener. Harsh chemicals break down ink adhesion and cause peeling and cracking. Avoid products with enzymes or brighteners. For graphic apparel, less detergent is better, a small amount in cold water on a delicate cycle is sufficient. Many customers find that specialty laundry products designed for dark or printed fabrics offer extra protection for screen printed and DTG graphic tees.
This article was written using GrandRanker